Federated Learning Blueprint
What is federated learning ?
Federated learning is a decentralized machine learning approach where multiple devices or servers collaboratively train a shared model without sharing their local data. Instead of sending raw data to a central server, each participant computes updates locally and only shares the model updates, preserving data privacy. This method is particularly useful in environments with privacy concerns, such as healthcare or mobile applications.
What is the Slices Federated Learning Blueprint ?
The Slices research infrastructure offers an ideal platform for experimenting with real hardware, ranging from low-end edge devices to high-end datacenter servers, distributed across multiple locations and interconnected by Layer 2 network links (with real or emulated network behavior). By combining this with data storage, machine learning hardware (such as GPUs), and supporting tools, it creates the perfect environment for federated learning experiments. You can utilize any Linux-compatible federated learning software or even develop your own custom solutions.
The Slices Federated Learning Blueprint provides templates and tutorials to help researchers leverage this infrastructure for federated learning research. It integrates key components —such as distributed virtual machines, bare-metal servers, storage, GPUs, and Jupyter notebooks— into streamlined, user-friendly experiments, demonstrating how to effectively use existing federated learning platforms on the distributed Slices infrastructure.
The Slices Federated Learning dashboard
The Slices Federated Learning dashboard is a Jupyter Notebook environment that allows you to get started immediately, without needing to install any software locally. All you need is a Slices account and a web browser to log in and begin right away.
Alternatively, you can install the Slices CLI and set up and run the experiment directly from your own machine.
Federated learning for data privacy
The first tutorial will elaborate on the case where federated learning is used to do data science, where you can use non-public information, without seeing nor obtaining a copy of the data itself. E.g. using medical data from multiple hospitals.
For executing this tutorial, you can log in with your Slices account at the federated learning dashboard
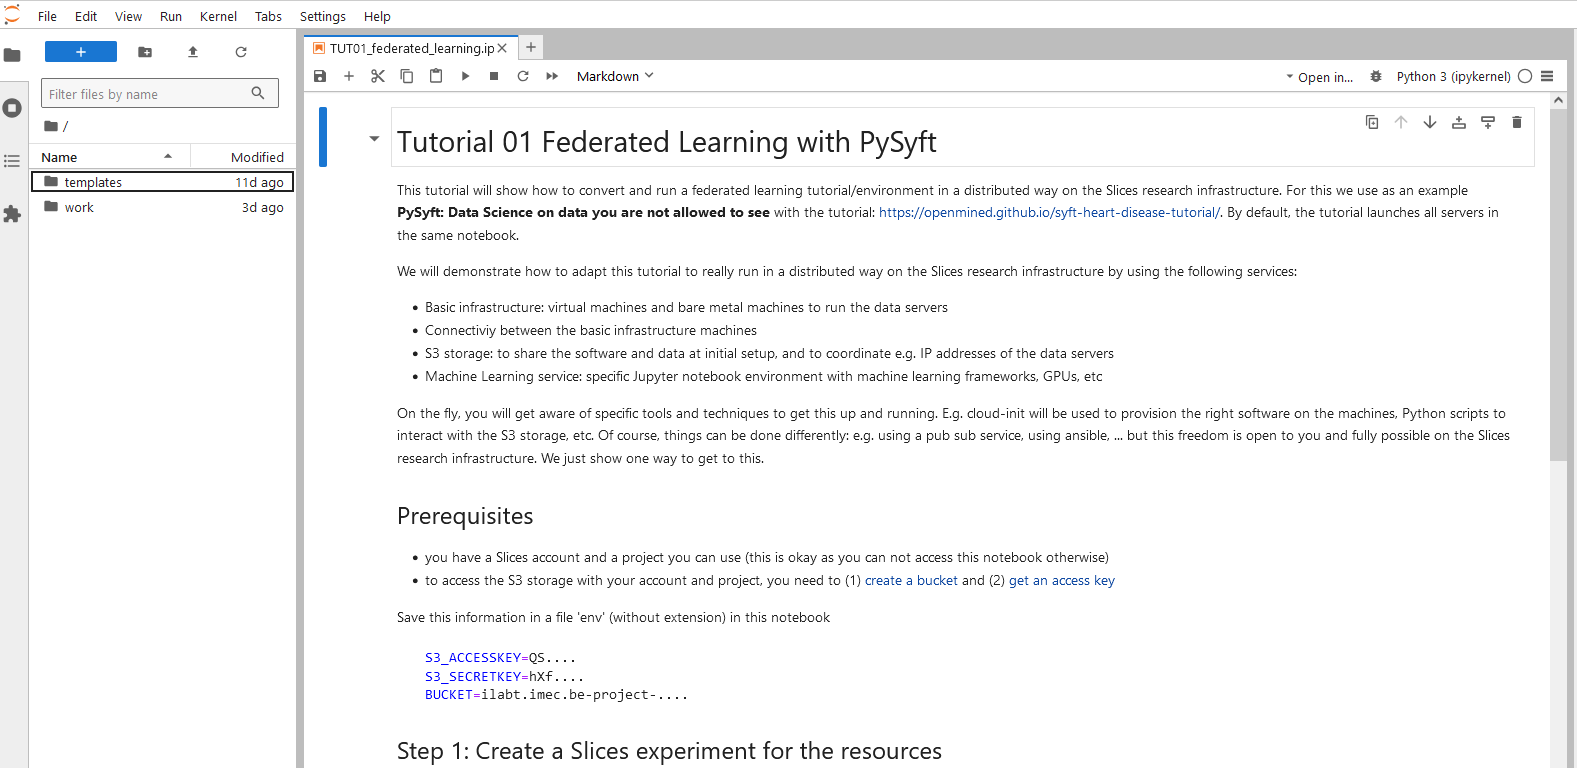
https://federatedlearning.slices-ri.eu where a notebook (see templates/FL-01 PySyft.ipynb) will guide you through the process.
This tutorial is using PySyft. Follow the instructions in the notebook.

It’s important to copy the output of the last step, the DATASITE_URLS structure as we need it as input for the machine learning itself. It contains the urls to the data of the different hospitals.
After that, we start the machine learning Jupyter notebook at https://jupyterhub.ilabt.imec.be (see for more details at Machine learning: jupyter) and can do the federated machine learning itself:
You select the project in which you want to run this machine learning notebook (most logical is to choose the same project)
Select the PyTorch Stack docker image (latest or cuda12) by clicking it
keep the Mount Ghent Project storage
resources: 2 CPUs, 4GB RAM, 1 GPU, cluster ID 4 (if no GPUs are available, you can just leave it out and only use CPUs and RAM)
click Start
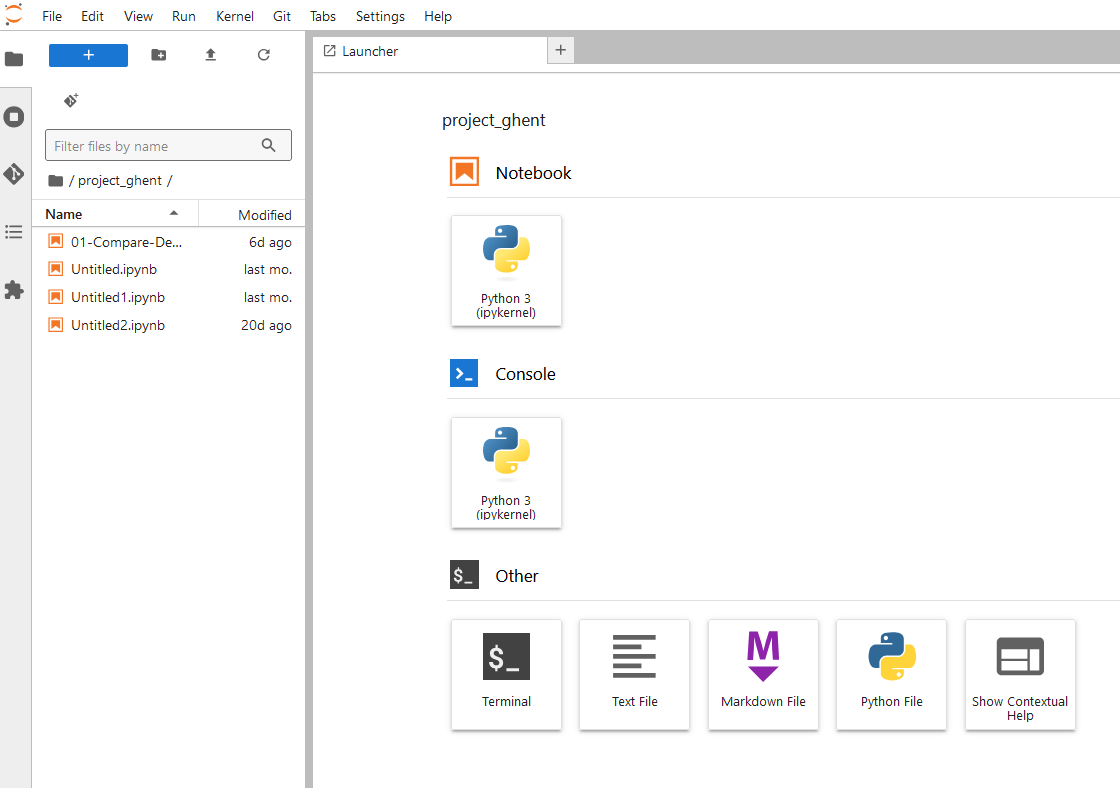
The Launcher should open. You should see that project_ghent is mounted and you can click Terminal to start a linux terminal. See screenshot below.

To demonstrate that we are using the default notebook from here, we will just download it and use it. In the terminal copy the wget command below and hit enter to download the notebook. It should appear on the left side. While we are in the terminal we will also install syft as it is not available by default.
...:/project_ghent$ wget https://raw.githubusercontent.com/OpenMined/syft-heart-disease-tutorial/refs/heads/main/01-Compare-Demographics.ipynb
...:/project_ghent$ wget https://raw.githubusercontent.com/OpenMined/syft-heart-disease-tutorial/refs/heads/main/utils.py
...:/project_ghent$ pip install syft
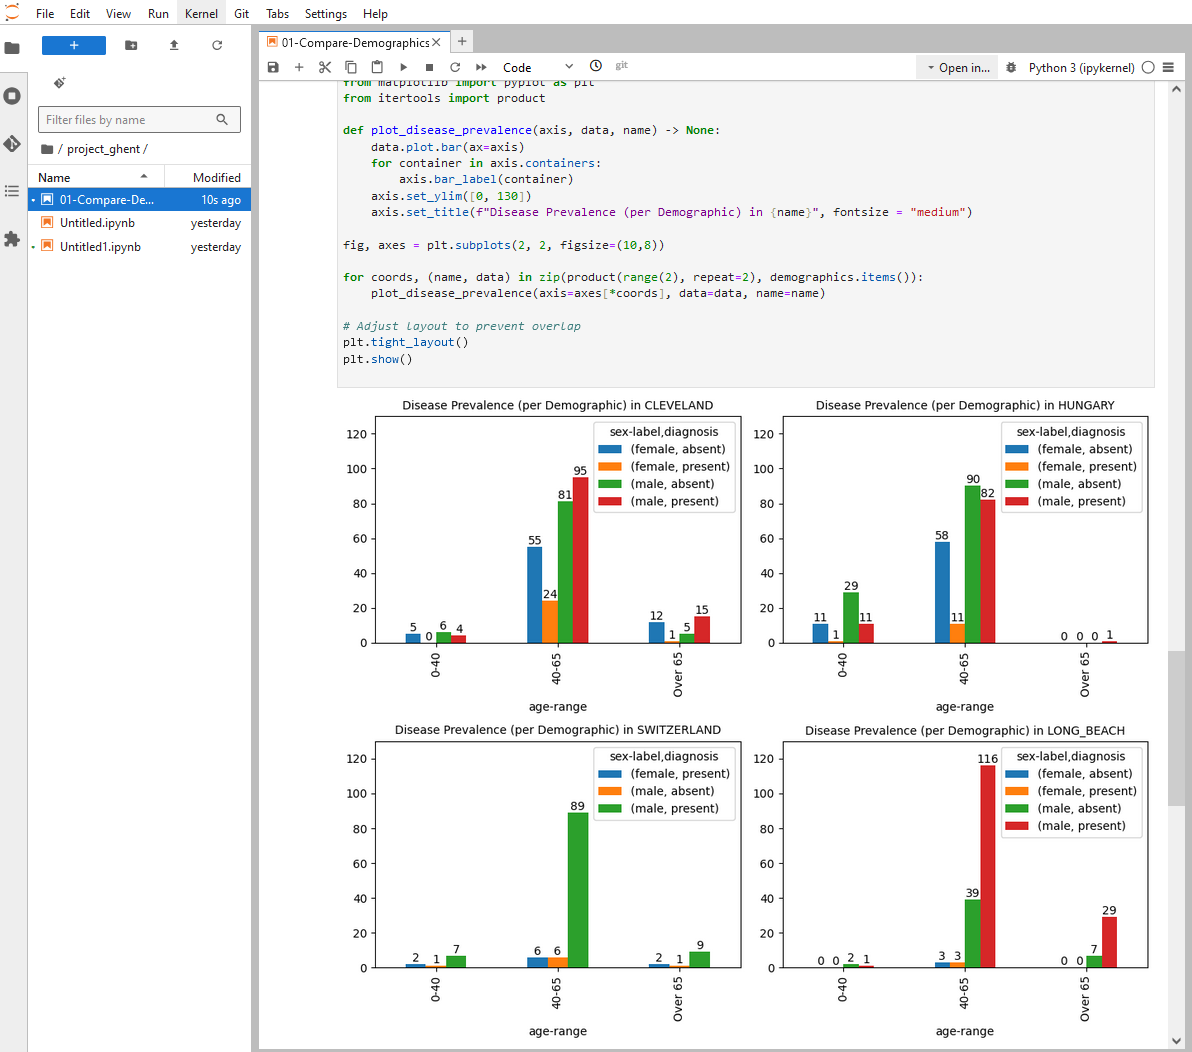
Double click now the downloaded notebook on the left to open it.
And we need to replace the default DATASITE_URLS loading by our distributed SLICES setup.
From here on, you can follow the instructions in the machine learning notebook.
Replace
from datasites import DATASITE_URLS
with the DATASITE_URLS output from the federated learning notebook above.
DATASITE_URLS = {
 'CLEVELAND':'http://xxx:54879',
 'HUNGARY':'http://xxx:54880',
 'SWITZERLAND':'http://xxx:54881',
 'LONG_BEACH':'http://xxx:54882'
}
